Asus G71V Manuel d'utilisateur
Naviguer en ligne ou télécharger Manuel d'utilisateur pour Carnets de notes Asus G71V. Asus G71V User Manual Manuel d'utilisatio
- Page / 97
- Table des matières
- MARQUE LIVRES
Noté. / 5. Basé sur avis des utilisateurs
- Notebook PC 1
- Table of Contents 2
- Table of Contents (Cont.) 3
- About This User’s Manual 6
- Safety Precautions 7
- Transportation Precautions 8
- Preparing your Notebook PC 9
- 2. Knowing the Parts 11
- 2 Knowing the Parts 12
- Bottom Side 15
- Knowing the Parts 2 17
- Battery Lock - Spring 17
- Battery Pack 17
- Optical Drive 19
- 21 3 4 5 6 7 21
- 21 123 4 5 23
- 3. Getting Started 25
- 3 Getting Started 26
- Battery Care 27
- Using Battery Power 27
- Checking Battery Power 29
- Charging the Battery Pack 29
- Thermal Power Control 31
- Sleep and Hibernate 31
- Power Management Modes 31
- <000> 32
- Colored Hot Keys (cont.) 33
- Microsoft Windows Keys 33
- Status Indicators 35
- 4. Using the Notebook PC 39
- 4 Using the Notebook PC 40
- Using the Notebook PC 4 41
- Parts of the mouse (top) 43
- Parts of the mouse (side) 43
- Seeking Help 47
- Flash Memory Card Reader 51
- (This is only an example�) 53
- This is only 53
- Ad-hoc mode 55
- Infrastructure mode 55
- LED Light 61
- Appendix 65
- A Appendix 66
- Optional Connections 67
- USB Keyboard and Mouse 67
- Printer Connection 67
- Appendix A 69
- System BIOS Settings 71
- [ MAIN MENU ] 73
- Software Problem - BIOS 77
- Glossary (Cont.) 83
- Internal Modem Compliancy 87
- Copyright Information 97
- Limitation of Liability 97
- Service and Support 97
Résumé du contenu
Page 1 - Notebook PC
Notebook PCHardware User’s ManualE3954/ July 2008
Page 2 - Table of Contents
101 Introducing the Notebook PC
Page 3 - Table of Contents (Cont.)
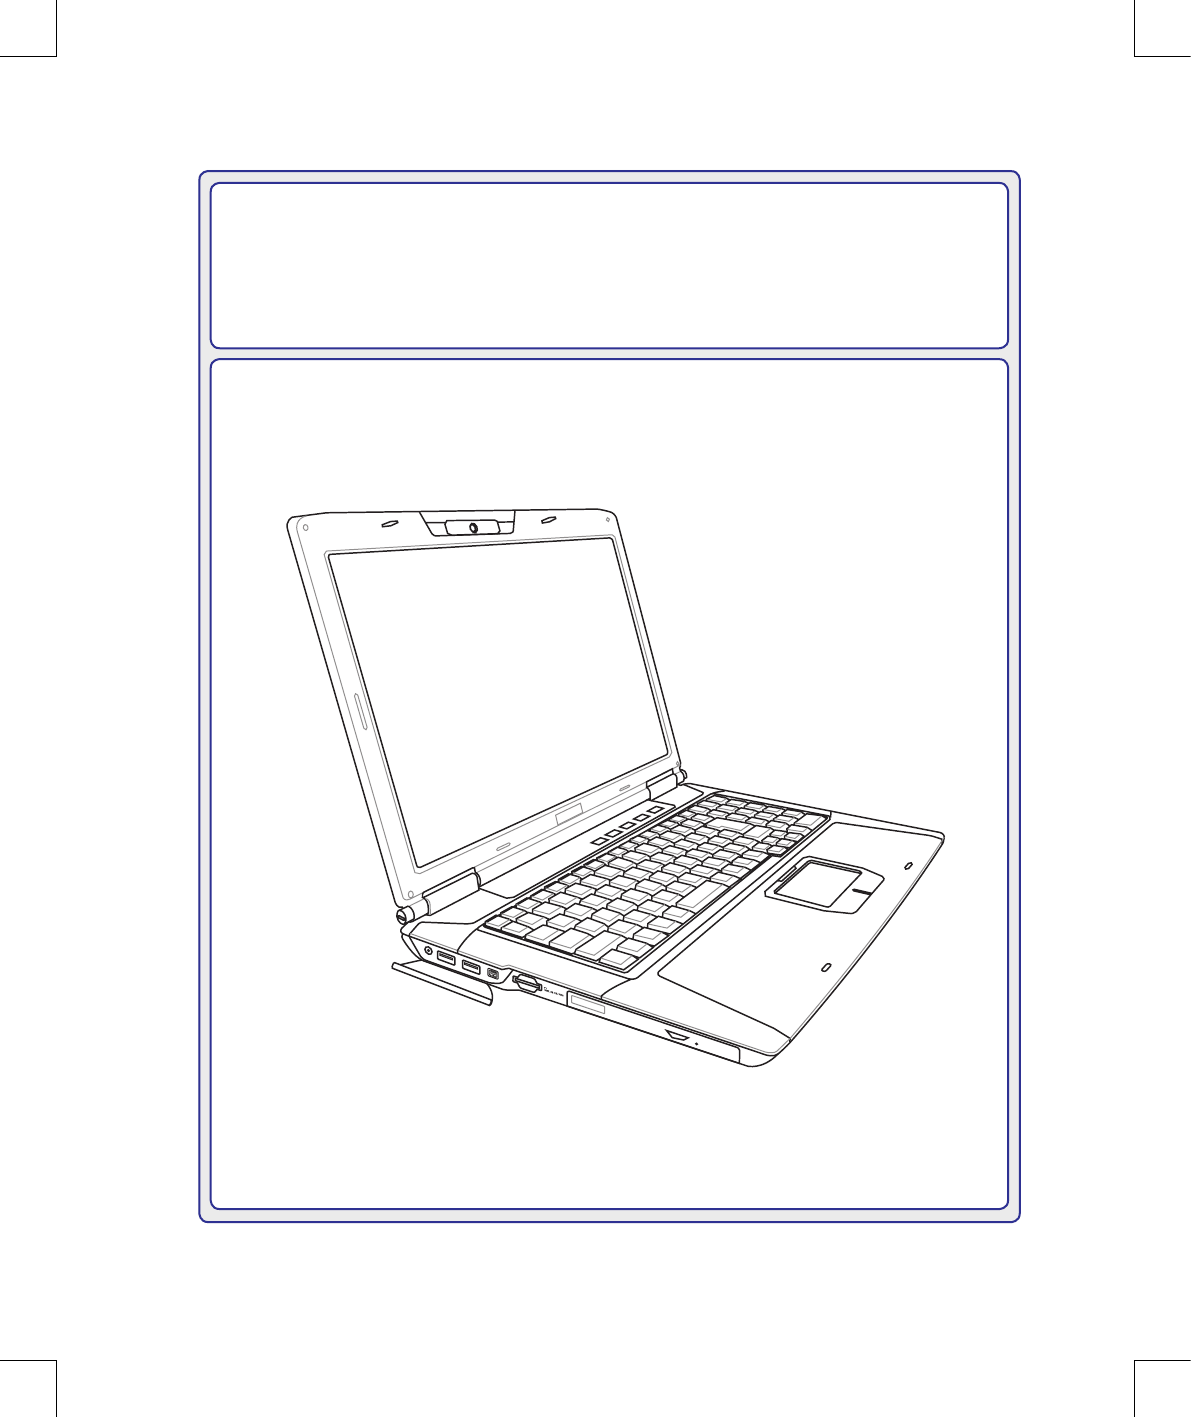
112. Knowing the PartsBasic sides of the Notebook PCPhotos and icons in this manual are used for artistic purposes only and do not show what is actual
Page 4
122 Knowing the Parts25843910176Top SideRefer to the illustration below to identify the components on this side of the Notebook PC.The keyboard dif
Page 5
13Knowing the Parts 2Display PanelThe display panel functions the same as a desktop monitor. The Notebook PC uses an active matrix TFT LCD, which p
Page 6 - About This User’s Manual
142 Knowing the PartsTouchpad and ButtonsThe touchpad with its buttons is a pointing device that provides the same functions as a desk-top mouse. A
Page 7 - Safety Precautions
15Knowing the Parts 2Bottom SideRefer to the illustration below to identify the components on this side of the Notebook PC.217 5436WARNING! The bo
Page 8 - Transportation Precautions
162 Knowing the PartsAudio Speaker (on selected models)The built-in stereo speaker system allows you to hear audio without additional attachments.
Page 9 - Preparing your Notebook PC
17Knowing the Parts 2Battery Lock - SpringThe spring battery lock is used to keep the battery pack secured. When the battery pack is inserted, it w
Page 10
182 Knowing the Parts2.0USB Port (2.0/1.1)The USB (Universal Serial Bus) port is compatible with USB 2.0 or USB 1.1 devices such as keyboards, poin
Page 11 - 2. Knowing the Parts
19Knowing the Parts 2567Optical Drive Emergency Eject (location varies by model)The emergency eject is used to eject the optical drive tray in case
Page 12 - 2 Knowing the Parts
2ContentsTable of ContentsTable of Contents1. Introducing the Notebook PCAbout This User’s Manual ����������������������������������������������������
Page 13
202 Knowing the PartsRight SideRefer to the illustration below to identify the components on this side of the Notebook PC.1 2 3 4 5 6 61234ExpressC
Page 14
21Knowing the Parts 22.0USB Port (2.0/1.1)(See Left side for description.)Rear SideRefer to the illustration below to identify the components on th
Page 15 - Bottom Side
222 Knowing the PartsE-SATA Port (on selected models)External SATA or eSATA allows external connection of Serial-ATA devices originally designed
Page 16
23Knowing the Parts 2Audio SpeakersThe built-in stereo speaker system allows you to hear audio without additional attachments. The multimedia sound
Page 17 - Battery Pack
242 Knowing the Parts
Page 18
253. Getting StartedUsing AC PowerUsing Battery PowerPowering ON the Notebook PCChecking Battery Power Powering OptionsPower Management ModesSpecia
Page 19 - Optical Drive
263 Getting StartedIMPORTANT! Damage may occur if you use a different adapter to power the Note-book PC or use the Notebook PC’s adapter to power
Page 20
27Getting Started 3IMPORTANT! Never attempt to remove the battery pack while the Notebook PC is turned ON, as this may result in the loss of worki
Page 21 - 21 3 4 5 6 7
283 Getting StartedIMPORTANT! If warnings are still given during bootup after running a software disk checking utility, you should take your Notebo
Page 22
29Getting Started 3You will be warned when battery power is low. If you continue to ignore the low battery warnings, the Note-book PC eventually en
Page 23 - 21 123 4 5
3ContentsTable of Contents (Cont.)4. Using the Notebook PCPointing Device�����������������������������������������������������������������������������
Page 24
303 Getting StartedIMPORTANT! To protect the hard drive, wait at least 5 seconds after turning OFF your Notebook PC before turning it back ON. IMP
Page 25 - 3. Getting Started
31Getting Started 3Thermal Power ControlThere are three power control methods for controlling the Notebook PC’s thermal state. These power control
Page 26 - 3 Getting Started
323 Getting Started<000>Special Keyboard FunctionsColored Hot KeysThe following denes the colored hot keys on the Notebook PC’s keyboard. Th
Page 27 - Using Battery Power
33Getting Started 3Colored Hot Keys (cont.)Speaker Up Icon (F12): Increases the speaker volume (only in Windows OS)Fn+C: Toggles “Splendid Video In
Page 28
343 Getting Started<000>SwitchesSwitches and Status IndicatorsPower SwitchThe power switch turns ON and OFF the Notebook PC or putting the No
Page 29 - Charging the Battery Pack
35Getting Started 3Status IndicatorsFrontSwitches and Status Indicators (cont.)Battery Charge IndicatorThe battery charge indicator shows the statu
Page 30
363 Getting Started<000>Capital Lock IndicatorIndicates that capital lock [Caps Lock] is activated when lighted. Capital lock allows some of
Page 31 - Power Management Modes
37Getting Started 3Status IndicatorsDirect Messenger DisplayDirect Messenger provides status for MS Outlook items, and battery level. You can use t
Page 32 - <000>
383 Getting Started<000>CD Play/PauseDuring CD stop, begins CD play.During CD play, pauses CD play.CD StopDuring CD stop: Ejects the CD tray.
Page 33 - Microsoft Windows Keys
394. Using the Notebook PCPointing DeviceStorage Devices Expansion Card Optical drive Flash memory card reader Hard disk driveMemory (RAM)Connecti
Page 34
4Contents<000>
Page 35 - Status Indicators
404 Using the Notebook PCIMPORTANT! DO NOT use any objects in place of your nger to operate the touchpad or else damage may occur to the touchpad’
Page 36
41Using the Notebook PC 4Double-clicking/Double-tapping - This is a common skill for launching a program directly from the corresponding icon you s
Page 37
424 Using the Notebook PCThe touchpad responds to movement not to force. There is no need to tap the sur-face too hard. Tapping too hard does not i
Page 38
43Using the Notebook PC 4Gaming Optical Mouse (on selected models)The gaming optical mouse is a standard mouse with some added software features fo
Page 39 - 4. Using the Notebook PC
444 Using the Notebook PCIn-play sensitivity switchingThe mouse has out-of-box access to three levels of tracking sensitivity - 1600dpi, 800dpi, an
Page 40 - 4 Using the Notebook PC
45Using the Notebook PC 4Gaming Laser Mouse (on selected models)The gaming laser mouse is a standard mouse with some added software features for ea
Page 41 - Using the Notebook PC 4
464 Using the Notebook PCGaming Laser Mouse (on selected models) Cont.You can change the preset button as-signment by clicking the box and select t
Page 42
47Using the Notebook PC 4Loading and Saving CongurationsTo load or save the configuration1� Click CONFIG | SAVE / LOAD SETTINGS�2� In the ADVANC
Page 43 - Parts of the mouse (side)
484 Using the Notebook PCStorage DevicesStorage devices allow the Notebook PC to read or write documents, pictures, and other les to various data
Page 44
49Using the Notebook PC 4Optical DriveInserting an optical disc 1. While the Notebook PC’s power is ON, press the drive’s eject button and the tra
Page 45
51. Introducing the Notebook PCAbout This User’s ManualNotes For This ManualSafety PrecautionsPreparing your Notebook PC<000>Photos and icons in
Page 46
504 Using the Notebook PC<000>Eject the tray and gently pry the edge of the disc upwards at an angle to remove the disc from the hub.12The em
Page 47 - Seeking Help
51Using the Notebook PC 4Flash Memory Card ReaderNormally a memory card reader must be purchased separately in order to use memory cards from devic
Page 48
524 Using the Notebook PCHard Disk DriveHard disk drives have higher capacities and operate at much faster speeds than oppy disk drives and optica
Page 49
53Using the Notebook PC 4Installing a Memory Card:Removing a Memory Card:1Installing the hard disk drive:3(This is only an example�)3(This is only
Page 50
544 Using the Notebook PCThe built-in network cannot be installed later as an upgrade. After purchase, net-work can be installed as an expansion ca
Page 51 - Flash Memory Card Reader
55Using the Notebook PC 4These are examples of the Notebook PC connected to a Wireless Network�Desktop PCPDANotebook PCAccess PointDesktop PCPDANot
Page 52
564 Using the Notebook PC2� Press [FN F2] repeatedly until Wireless LAN ON or WLAN & Bluetooth ON is shown�Windows Wireless Network Connection
Page 53 - This is only
57Using the Notebook PC 4Bluetooth Wireless Connection (on selected models)Notebook PCs with Bluetooth technology eliminates the need for cables fo
Page 54
584 Using the Notebook PCAntenna Connections (on selected models)This page shows multimedia connections for TV Tuner Models. TV and radio features
Page 55 - Infrastructure mode
59Using the Notebook PC 4Media Center Remote Controller (on selected models)A wireless remote controller is included with TV tuner models to contro
Page 56
61 Introducing the Notebook PCAbout This User’s ManualYou are reading the Notebook PC User’s Manual. This User’s Manual provides information on the
Page 57
604 Using the Notebook PC<000>Direct Console 2.0The Direct Console 2.0 offers a convenient interface for users to adjust the system performan
Page 58
61Using the Notebook PC 4LED LightClick the gear button in the LED Light area to customize the LED lights.Preset ModesClick Interactive Mode, Power
Page 59
624 Using the Notebook PCMessageClick the gear button in the Message area to customize the messages displayed in the Direct Mes-senger Display. Cli
Page 60
63Using the Notebook PC 44� Click your account name box and click Turn on “Direct Console.”5� You will see Direct Console under your accou
Page 61 - LED Light
644 Using the Notebook PC
Page 62
A-1AppendixOptional Accessories & ConnectionsOperating System and Software System BIOS Settings Common Problems and Solutions Windows Software
Page 63
A AppendixA-2Optional AccessoriesThese items, if desired, come as optional items to complement your Notebook PC.USB Flash Memory DiskA USB ash mem
Page 64
Appendix AA-3Optional ConnectionsThese items, if desired, may be purchased from third-parties.USB Keyboard and MouseAttaching an external USB keybo
Page 65 - Appendix
A AppendixA-4RESETOFF ON4� Prepare the Bluetooth mouse�• Install two “AA” batteries�• Turn ON the power switch on the bottom of the mouse� The b
Page 66 - A Appendix
Appendix AA-5“RESET” may be necessary after changing batteries. Repeat steps if necessary.5� Click Next when the Bluetooth mouse is ready� 6� A
Page 67 - Printer Connection
7Introducing the Notebook PC 1Safety PrecautionsThe following safety precautions will increase the life of the Notebook PC. Follow all precautions
Page 68
A AppendixA-6Support SoftwareThis Notebook PC comes with a support disc that provides BIOS, drivers and applications to enable hardware features, e
Page 69 - Appendix A
Appendix AA-7System BIOS SettingsBoot Device2� Select each item and press [Enter] to select a device� 1� On the Boot screen, select Boot Device Pri
Page 70
A AppendixA-8Password CheckSelect whether to ask for a password during bootup (Always) or only when entering the BIOS setup utility (Setup)�Select
Page 71 - System BIOS Settings
Appendix AA-9System BIOS Settings (cont.)RAID Function Support (on selected model)For models support RAID function, you must set the RAID item in t
Page 72
A AppendixA-10Common Problems and SolutionsHardware Problem - Optical Disc The optical disc drive is not able to read or write discs.1. Update the
Page 73 - [ MAIN MENU ]
Appendix AA-11Hardware Problem - Power ON/OFF ErrorI cannot power ON the Notebook PC.Diagnostics:1. Power On by Battery only? (Y = 2, N = 4)2. Ab
Page 74
A AppendixA-12Software Problem - ASUS bundled softwareWhen I power ON the Notebook PC, there will be an “Open policy le error” message.A. Reinstal
Page 75
Appendix AA-13Software Problem - BIOSUpdating the BIOS.1. Please verify the Notebook PC’s exact model and download the latest BIOS le for your mo
Page 76
A AppendixA-14Common Problems and Solutions (Cont.)Symantec’s Norton Internet Security (NIS)1. Sometimes NIS will show an alert to stop a Trojan v
Page 77 - Software Problem - BIOS
Appendix AA-1511. Insufcient privilege message.Many settings, including disabling or uninstalling NIS, require you to be logged into Windows with
Page 78
81 Introducing the Notebook PCCAUTION! There are three main types of airport security devices: X-ray machines (used on items placed on conveyor bel
Page 79
A AppendixA-16Windows Vista Software RecoveryUsing Hard Disk Partition The Recovery Partition includes an image of the operating system, drivers,
Page 80
Appendix AA-17Windows Vista Software Recovery (Cont.)Using DVD (on selected models)The Recovery DVD includes an image of the operating system, driv
Page 81
A AppendixA-18GlossaryACPI (Advanced Conguration and Power Management Interface)Modern standard for reducing power usage in computers.APM (Advance
Page 82
Appendix AA-19CPU (Central Processing Unit)The CPU, sometimes called “Processor,” actually functions as the “brain” of the computer. It interprets
Page 83 - Glossary (Cont.)
A AppendixA-20Glossary (Cont.)Laser ClassicationsAs lasers became more numerous and more widely used, the need to warn users of laser hazards beca
Page 84
Appendix AA-21Glossary (Cont.)Suspend ModeIn Save-to-RAM (STR) and Save-to-Disk (STD), the CPU clock is stopped and most of the Notebook PC devices
Page 85
A AppendixA-22Declarations and Safety StatementsRegion DenitionsRegion 1Canada, US, US TerritoriesRegion 2Czech, Egypt, Finland, France, Germany,
Page 86
Appendix AA-23Internal Modem CompliancyThe Notebook PC with internal modem model complies with JATE (Japan), FCC (US, Canada, Korea, Taiwan), and
Page 87 - Internal Modem Compliancy
A AppendixA-24Internal Modem Compliancy (Cont.)This table shows the countries currently under the CTR21 standard.Country Applied More
Page 88
Appendix AA-25Federal Communications Commission StatementThis device complies with FCC Rules Part 15. Operation is subject to the following two con
Page 89
9Introducing the Notebook PC 1Preparing your Notebook PCThese are only quick instructions for using your Notebook PC. Read the later pages for deta
Page 90
A AppendixA-26R&TTE Directive (1999/5/EC)The following items were completed and are considered relevant and sufcient for the R&TTE (Radio
Page 91
Appendix AA-27France Restricted Wireless Frequency BandsSome areas of France have a restricted frequency band. The worst case maximum authorized po
Page 92
A AppendixA-28UL Safety NoticesRequired for UL 1459 covering telecommunications (telephone) equipment intended to be electrically connected to a te
Page 93
Appendix AA-29Nordic Lithium Cautions (for lithium-ion batteries)(Japanese)CAUTION! Danger of explosion if battery is incorrectly replaced. Replac
Page 94
A AppendixA-30Service warning labelWARNING! Making adjustments or performing procedures other than those specied in the user’s manual may result i
Page 95
Appendix AA-31CTR 21 Approval (for Notebook PC with built-in Modem)DanishDutchEnglishFinnishFrenchGermanGreekItalianPortugueseSpanishSwedish
Page 96
A AppendixA-32Notebook PC InformationThis page is provided for recording information concerning your Notebook PC for future reference or for techni
Page 97 - Service and Support
Copyright InformationNo part of this manual, including the products and software described in it, may be reproduced, trans-mitted, transcribed, stored
Produits connexes et manuels pour Carnets de notes Asus G71V
Carnets de notes Asus X7BSM Manuel d'utilisateur
 (111 pages)
(111 pages)
 (8 pages)
 (8 pages)
 (98 pages)
 (93 pages)
Carnets de notes Asus U48 Manuel d'utilisateur
 (122 pages)
(122 pages)
Carnets de notes Asus X75VC Manuel d'utilisateur
(119 pages)
(119 pages)
© 2020, manymanuals.fr. Tous droits réservés | 1.008 s |
 Manymanuals.com
 Manymanuals.de
 Manymanuals.fr
 Manymanuals.it
 Manymanuals.pl
 Manymanuals.cz
 Manymanuals.es
 Manymanuals-pt.com
Commentaires sur ces manuels